Pixel Diff Tool
See Every Changed Pixel as a Heatmap
Drag two screenshots in. Changed pixels light up red.
You changed a CSS property and you need to know what actually moved. Or a change was scoped to the button and you need to be sure it stayed there. Or you need to verify that an inpainting run only affected the region you specified. Drag both images in, hit diff, and you have a pixel-level heatmap in under two seconds.
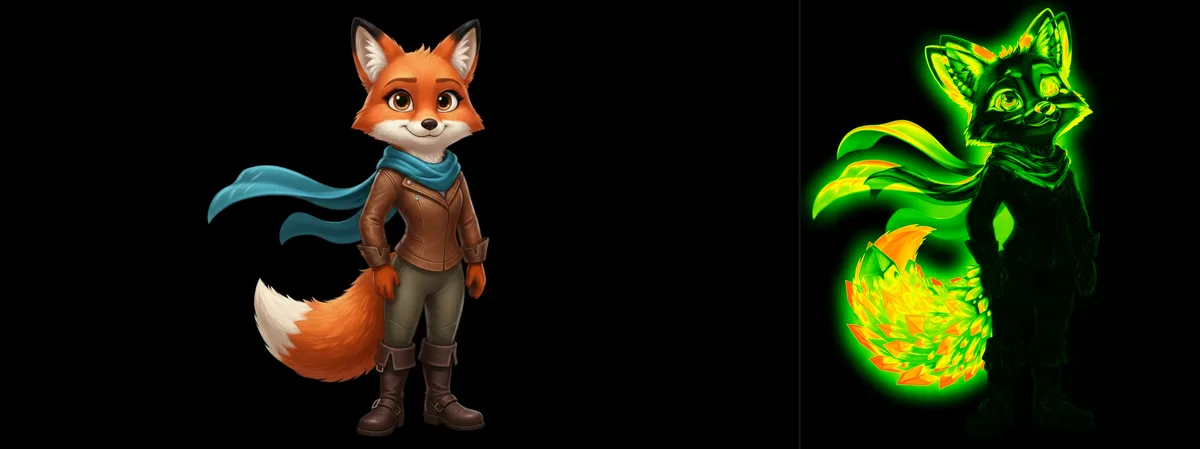
Original image (left) and its pixel diff heatmap (right): every changed pixel glows.
Percy and BackstopJS are for your pipeline. This is for right now.
Automated visual regression tools are excellent, when you have the time to set them up, the infrastructure to run them, and a clear baseline to compare against. For the quick manual check that comes up a dozen times a day, they're overkill. This tool is the other 95% of your pixel diff needs.
When to use automated tools (Percy, Chromatic, BackstopJS)
Automated regression testing on every commit. Baseline management across browser and viewport combinations. CI/CD integration with pull request checks. Team-wide visual review workflows. These are the right tools when the process needs to be systematic and repeatable.
When to use this
Right now. Before you commit. When a designer sends you a "small update" and you need to verify what actually changed. When you're comparing two compressed exports. When you need to show someone exactly what moved in a redesign. No SDK to install: just drag, diff, and know.
Using the pixel-diff npm library?
If you searched for pixel-diff, getPixelsDiff, or the unpkg docs, you may be looking for the JavaScript library of the same name: the one you install, feed two PNG buffers, and get a diff count and an output image from. For CI assertions and programmatic thresholds, that library (or pixelmatch, or Resemble.js) is the right tool: keep it in your pipeline.
This page is the manual counterpart: the same per-pixel RGBA comparison, running on Canvas in your browser, with no install and no code. Drag two screenshots in and the heatmap renders instantly. Useful for the sessions where you want to see the diff before you write the assertion, reproduce a flaky test’s failure visually, or hand a non-developer a way to verify a rendering bug. Your screenshots stay on your machine.
How the pixel diff heatmap is generated
1. Pixel extraction
Both images are drawn to an HTML Canvas. Compix reads the raw pixel data (every RGBA value for every pixel) using getImageData(). All processing happens in memory, producing the diff instantly.
2. Per-pixel comparison
For each pixel position, Compix calculates the absolute difference across R, G, B, and A channels. The combined delta determines how changed that pixel is: from identical (0) to maximally different (255 per channel).
3. Heatmap rendering
Differences are mapped to a color scale and rendered as an overlay on the canvas. Bright areas indicate significant change. Dark areas indicate no change. Changed areas glow immediately: you don't have to hunt for them.
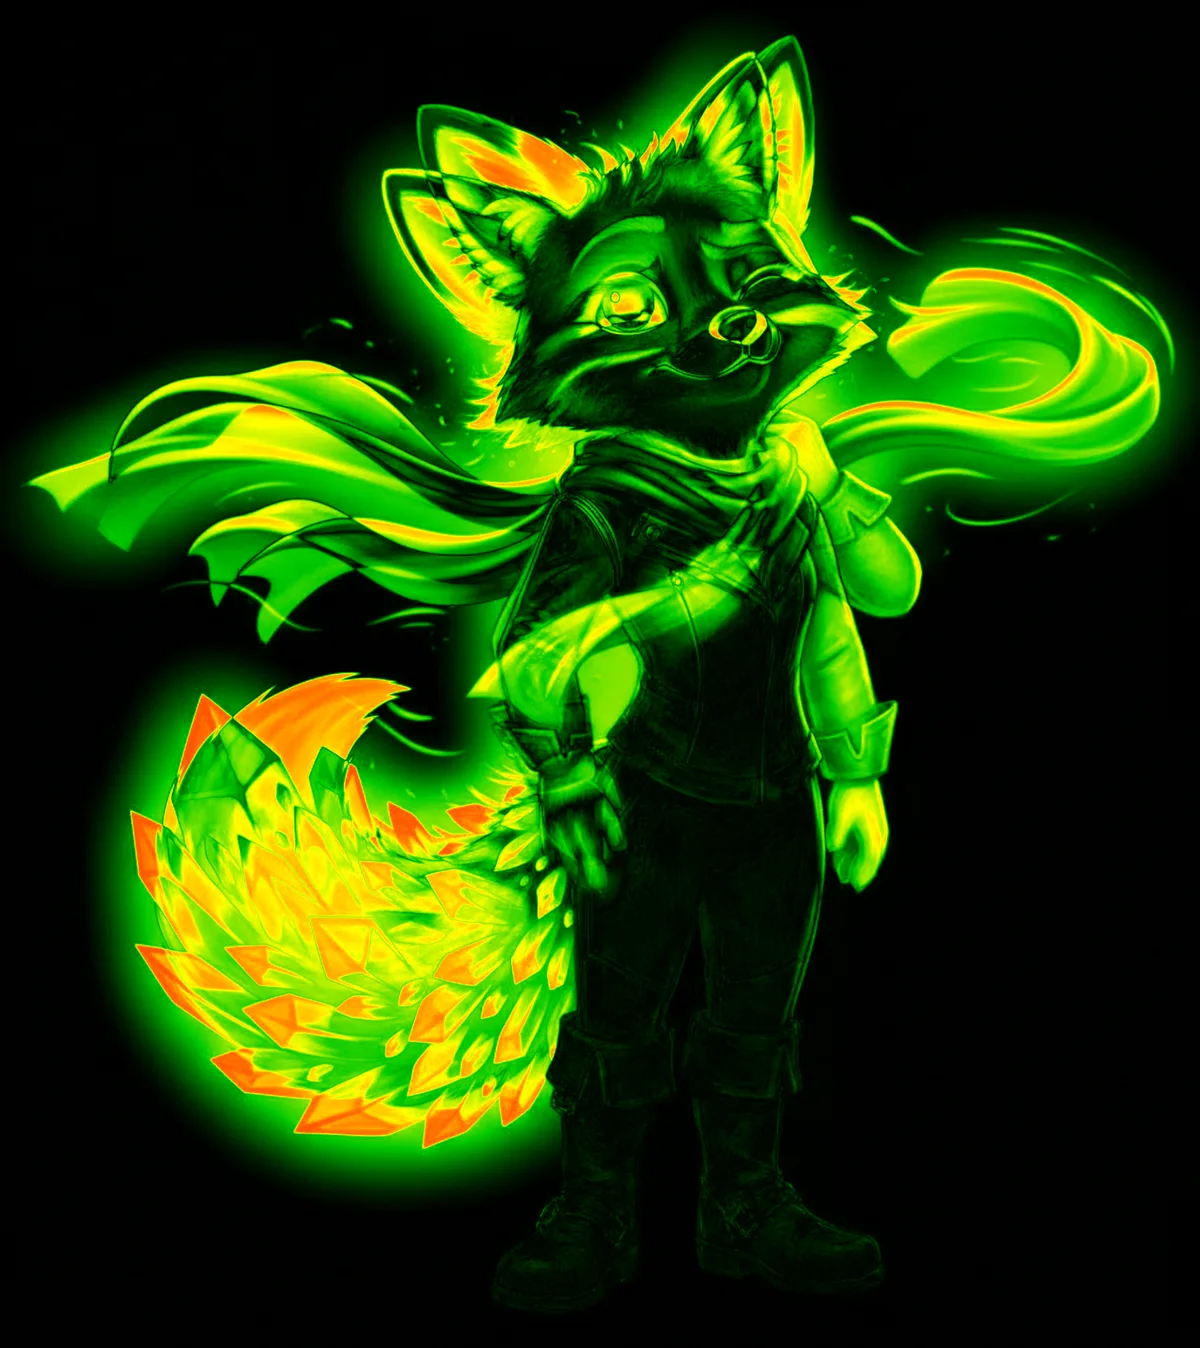
Full diff heatmap output: bright areas show where pixels differ between two image variants.
When pixel-level diffing matters
🖥️ Compare screenshots after a deploy
A header change goes in. In theory nothing else moves. Screenshot before and after your deploy and diff them. The heatmap shows you every element that shifted: padding changes, font rendering, element reflow, color adjustments, in a single view. No scrolling through two screenshots and hoping you catch everything by eye.
📦 Compression and export quality
Compare your original PNG against a WebP or JPEG export. The diff heatmap reveals exactly where compression artifacts appear and how severe they are: block boundaries in JPEG, edge ringing in WebP, gradient banding. Find the lowest file size that doesn't produce visible degradation.
🎨 Design version accountability
A button-colour change should move one button. The diff heatmap shows everything that moved. Bring pixel-level evidence to a design review instead of eyeballing two files and hoping nothing else shifted.
🤖 AI output verification
Ran an inpainting operation that should only affect a specific region? The diff confirms whether the rest of the image is truly unchanged. Verify that upscalers, face restorers, and enhancement models only touched what they claimed to touch.
🌐 Cross-browser rendering
Screenshot the same page in Chrome and Firefox at the same viewport. The diff shows every rendering difference: font hinting, anti-aliasing, sub-pixel rendering, margin calculations. Useful for cross-browser QA without setting up a full cloud testing infrastructure.
📱 Responsive layout testing
Compare a page at 1440px versus 1280px to see exactly which elements reflow, resize, or disappear. Useful during responsive design work when you need to verify that a breakpoint change only affected the intended components.
Pixel diff plus two more comparison modes
Diff gives you the objective picture. Blink and split give you the perceptual and regional ones.
Pixel Diff Heatmap
Mathematical per-pixel comparison. Every changed pixel, every channel. The objective, quantifiable view of what changed between two images. Best for technical analysis and QA verification.
Blink Comparison
Rapid alternation at adjustable speed. Your brain's change-detection system flags differences that the heatmap quantifies but that your eye might not locate visually. Best for a quick overall "is anything different?" pass.
Split Wipe
Drag a divider across the image to inspect specific regions in detail. Best for examining a particular UI element, checking a specific layout section, or showing a precise regional difference to a colleague.
Positioned where other tools don't reach
| Capability | Compix | Diffchecker | Percy / Chromatic | ImageMagick CLI |
|---|---|---|---|---|
| Pixel diff heatmap | ✓ Real-time, in-browser | ✓ Server-based | ✓ Cloud-based | ✓ CLI only |
| Zero setup, zero install | ✓ Browser, drag & drop | ✓ Browser-based | ✗ SDK + CI setup | ✗ CLI install required |
| Local processing | ✓ Client-side only | ✗ Images sent to server | ✗ Cloud-based | ✓ Local |
| Blink comparison | ✓ Adjustable speed | ✗ | ✗ | ✗ |
| Compare 50+ variants | ✓ | ✗ Two only | ✓ Via baselines | ✗ Two only |
| CI/CD integration | ✗ Manual only | ✗ Manual only | ✓ Full integration | ✓ Scriptable |
| Price | Free | Free / $12+/mo | $69+/mo | Free (open source) |
Three types of differences — and which comparison mode reveals each
Not all image differences are the same. Understanding which type you're looking for tells you which comparison mode to use.
Structural changes (objects added, removed, or repositioned) are the most dramatic. They produce large, contiguous bright regions in the diff heatmap. Blink comparison makes them immediately visible through the motion they create. Either mode works well here; diff gives you the complete map, blink gives you the fastest initial check.
Tonal and color shifts : global color grade adjustments, white balance changes, exposure corrections. These produce a uniform low-level change across the entire image. In a diff heatmap, this appears as a faint, even glow. Blink comparison is often better for detecting these perceptually, because the alternation makes even slight overall color shifts visible as a single "blink": the whole image appears to jump in tone when you switch.
Compression artifacts and sub-pixel changes : the kind introduced by JPEG encoding, WebP conversion, or format changes. These are the subtlest. They're often invisible to the naked eye but measurable by a diff tool. The heatmap reveals spatial distribution: block boundaries in JPEG, edge ringing in WebP, gradient banding in areas of smooth color. This is where pixel diff provides information that no amount of visual inspection can replicate.
Using all three modes together
The most thorough comparison workflow uses all three modes in sequence: diff for the objective overview (what changed and where), blink for the perceptual check (what looks different to a human viewer), and split wipe for the detailed regional inspection (what does a specific area actually look like in each version). No single mode is sufficient for every type of difference. Running all three takes under 90 seconds and gives you complete confidence that you've caught everything. See the full comparison toolkit at /before-after-comparison.
Technical questions
How is this different from Percy, Chromatic, or Applitools? ▸
Do both images need to be the same dimensions? ▸
Are images uploaded to a server? ▸
How does performance scale with large images? ▸
Can I compare more than two images at once? ▸
Other comparison workflows
Before & After Tool
The full comparison toolkit: blink, split wipe, pixel diff, multi-state, GIF export, and scene compositor in one place. Open →
AI Image Comparison
Compare Stable Diffusion outputs, Midjourney variations, and Flux generations. Load 50 outputs at once. Open →
Retouching QA Tool
For professional retouchers: blink your raw against your retouched export and catch every missed spot before delivery. Open →
Compare Upscaled Images
Pixel diff is ideal for upscaler comparison: see exactly where Topaz and Real-ESRGAN diverge. Open →
Scene Compositor
Layer images, add shapes, animate with a timeline, and export as PNG, GIF, or MP4. Open →
See the Diff → Combine the Best Parts
The diff shows which regions drifted. The combinatorial engine extracts those regions and reassembles them in every possible combination. 9 images × 3 shapes = 6,500+ variations. Combine now →
CHANGE OVER TIME
When the subject is the world, not a design.
Twenty frames of a working harbour. Each vessel carries its own track. Play it, or scrub frame by frame to follow a single ship in and out.

Difference detection is not only for versions of a file. Satellite passes, construction progress, traffic, a telescope pointed at the same patch of sky twice — any pair or sequence captured from a fixed viewpoint is a diff waiting to be read.
Drag two images in. Changed pixels light up. Done.
Drag two images in. Get a heatmap of every difference. Move on.
Open Compix →