Every tutorial teaches you
how to generate.
Nobody teaches you what to do after.
Generation is the beginning. What you do with your generations determines everything.
You generated 20 images. Maybe 5 are consistent. The other 15 have drift you can't see with side-by-side comparison. You're throwing away images that contain perfect expressions, perfect lighting, perfect gestures, because you have no tool to read them. You're going back to the generator when the variations you need are already in the batch you have. The post-generation workflow is the layer nobody built. Until now. Compix is that layer: compare up to 50 images against any anchor, mix regions, stage scenes, and export, all in your browser. Nothing uploads: an account stores your email, never an image. Mix or Scene uses a free account; comparing two images needs none.
RUN IT HERE
Don't read the workflow.
Run it on a real pair.
Four beats, the same two generations throughout. This is real Compix output, not a mockup — every step opens in the tool when you want your own images in it.
Side by side, your eye compares by memory and misses small drift. Alternated in place, anything that moved becomes the only thing moving — and you see it in about two seconds.
Blink your own pair →
Blink tells you something moved. The heat-map tells you where, per pixel, so “the face looks off” becomes a region you can point at.
Diff your own pair →
Every one of these is pixel-exact material from generations you already paid for — no model runs, nothing is approximated. Four here; nine sources and three regions is 6,500+.
Mix your own set →The keepers become layers on one canvas, the timeline moves them, and the whole thing leaves as PNG, GIF or MP4. This is where the workflow ends: a file you can actually send.
Stage your own scene →The entire industry is focused on generation.
The post-generation layer is empty.
What the industry built
Better prompting. More parameters. Reference weights. LoRA. IP-Adapter. InstantID. --cref. --oref. --sref. Vary Region. Every tool, every tutorial, every YouTube video is trying to make generation produce better outputs. The entire ecosystem optimizes for the generation phase: getting better images out of the generator before they're born.
And when the results still aren't right: generate more. Spend more credits. Try another seed. The loop continues.
Every one of those tools is a dial: how much to invent, how much to keep, how much to tolerate. The industry sells you the dial. Nothing in the stack shows you what the dial did.
What nobody built — until Compix
A workflow for what happens after generation. How to evaluate your batch: not by squinting at side-by-side thumbnails but by making drift mathematically visible. How to read a drifted image and find what's usable inside it. How to extract regions across multiple images and compound them into variations the generator never produced. How to composite and animate those variations into a finished output.
The generation loop ends here. Your existing batch becomes enough.
Seven steps. From raw generations
to finished animated composite.
This is the full post-generation workflow. Each step builds on the last. You only need to generate once.
Generate your base batch.
Don't aim for perfection.
Generate 5–10 images. Use your reference weights, your LoRA, your --cref or --oref: whatever consistency tools your generator offers. But don't spend hours trying to get perfect consistency at this stage. You don't need perfect generations to run the post-generation workflow. You need variation material. Drifted images are not failures: they're raw material for Step 4.
Works with: Stable Diffusion, Forge, AUTOMATIC1111, ComfyUI, Midjourney, Flux, Leonardo, any generator that outputs PNG or JPG.
Export from any tool. Drop into Compix. The workflow starts here.

Detect drift in 2 minutes.
Not 2 hours.
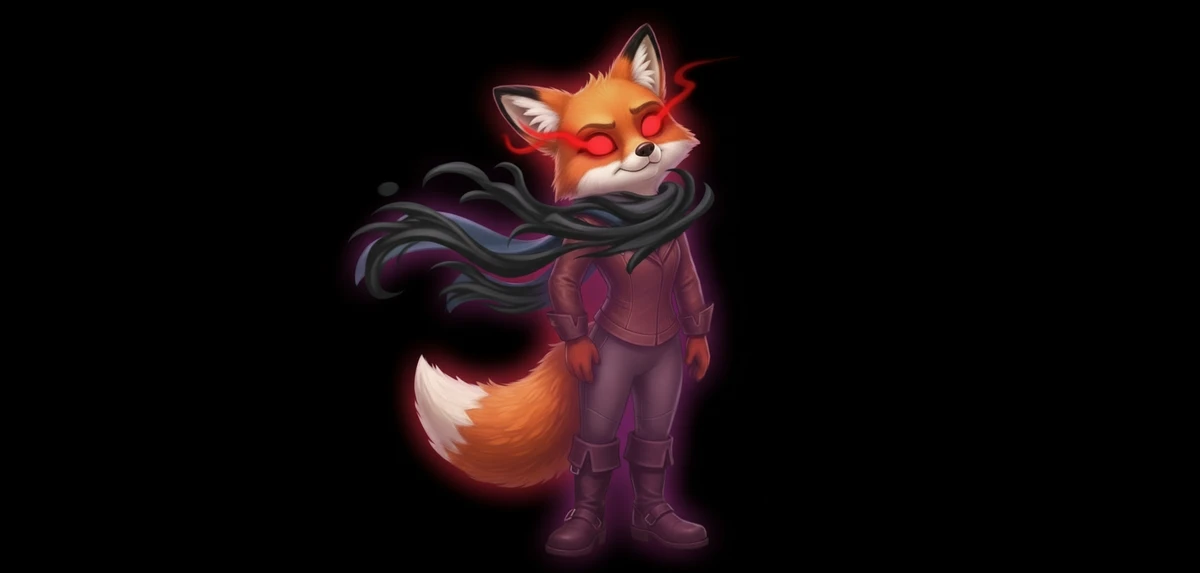
Drop your batch into Compix. Set your strongest image as the anchor. Hit play at 300ms. Your visual system, which evolved to detect motion rather than compare memories, does the work. Drifted images scream at you. Consistent images are silent. You know which 5 of your 20 generations held consistency before you've looked at a single one individually.
Why side-by-side comparison fails here: your brain compares a perception to a memory across a saccade. A 4-pixel eye shift is completely invisible. In blink it appears as motion: impossible to miss.
Deep dive: Why you can't see drift side by side →Measure drift.
Know exactly what changed.
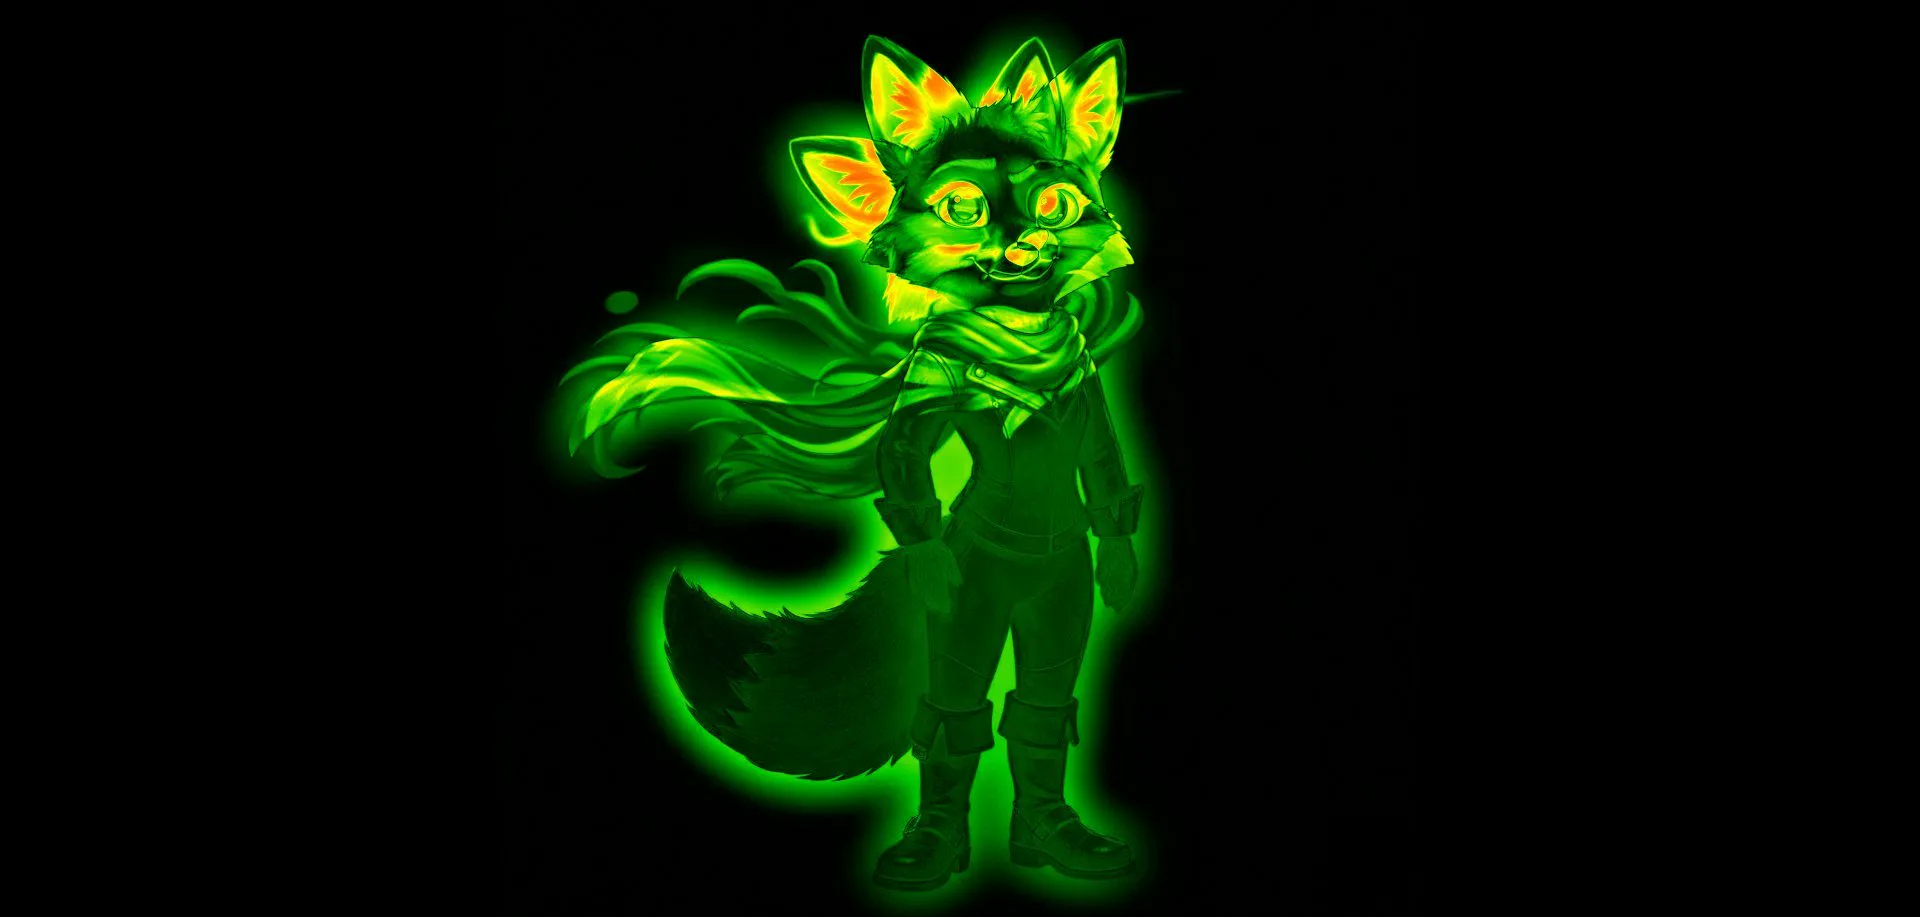
Blink told you which images drifted. Diff tells you where and how much. Switch to Diff mode on any image. Every changed pixel glows. Face drifted? The face region glows. Background consistent? It stays dark. This isn't a feeling about consistency: it's a mathematical pixel-by-pixel comparison. You're reading your generations, not guessing at them.
And for the drifted images, this is where you find the usable regions. The diff shows the face drifted but the pose is perfect. That pose region is your extraction target in Step 4.
About the pixel diff tool →Extract the best regions.
From any image. Even drifted ones.
While blinking, click the shape button. Draw freeform, circle, or rectangle around any region. The moment the shape closes, the same pixel-locked region from every other image in your grid appears as an invariant inside the shape. Click it. It locks to your anchor. Draw another shape. Another invariant. Every shape compounds the combinations.
The perfect expression from image 3. The perfect hand from image 7. The perfect background from image 2. All locked to the same pixel coordinates. All extracted in seconds. Your generator never produced this combination, but it exists in your batch.
Build your variation library.
One click per combination.
Hit capture. Full-resolution image saved to your grid, ready to use as a standalone image, a new anchor for further extraction rounds, or a layer in your Scene composition. Change one shape's invariant selection. Capture again. You're building a variation library from your existing generations. 10 captures take 2 minutes. Not 2 hours of re-prompting.
Every capture is a new image in your grid. You can blink-compare your captures against each other, run diff on them, or use them as sources for another extraction round. The workflow compounds further with every pass.
Composite your variations.
One canvas. All your captures.
Switch to Scene mode. Every captured variation is available as a layer. Drag them onto the canvas. Set position, scale and opacity. Layer your character variations, your background extractions, your expression captures. Build the composition you couldn't get from a single generation. This is where your extracted regions become a finished scene.
About the Scene compositor →Animate. Export.
Done.
Add keyframes on the animation timeline. Each layer gets its own keyframe track. Set start position, end position, scale, opacity, each with adjustable bezier easing. Set duration. Hit record. The timeline renders frame by frame. Export as GIF for sharing or MP4 for production use.
From 5 raw AI generations to a finished animated composite. No re-prompting. No additional generation cost. No subscriptions. No upload. Your images never left your device.
Everything in one place.
Nothing missing.
The four stages every AI image passes through after "generate"
SPOT : decide which version wins: blink test, per-pixel diff, split wipe. STEAL : take the best parts of the losers: draw a shape, generate every combination. STAGE : put keepers in motion: keyframe scenes. SHIP : export PNG, GIF, MP4 or reference packs for your next generation round. Four rooms, one studio, entirely in your browser. Nothing uploads.
This workflow is against every generator's business model.
If you can go from 9 generations to 6,500+ variations without going back to the generator: you spend fewer credits. You generate less. Their revenue drops. This is not a feature they can add without cannibalizing their own loop. Compix doesn't sell generation. We have no loop to protect. That's why the post-generation workflow exists here and nowhere else.
Why generation tools will never build this →Questions about the post-generation workflow
What is a post-generation AI art workflow? ▸
Does this work with Stable Diffusion, Midjourney, Flux, and ComfyUI? ▸
How is this different from Photoshop? ▸
Do I need good generations to start? What if most of mine drifted? ▸
Is Compix free? Are there limits? ▸
Each step has its own guide.
Combine Parts From Different Images
Take the face from image 1, the outfit from image 3, the boots from image 7. Get every possible combination: 6,500+ from 9 images. Combine now →
9 Images. 6,500+ Variations.
How freeform region extraction compounds across images and why the generators will never build this. Steps 4 & 5 in depth →
Detect Character Drift
Blink comparison makes drift impossible to miss. Then extract the best parts from each drifted image. Steps 2 & 3 in depth →
Scene Compositor
Multi-layer canvas, keyframe timeline, bezier easing, GIF and MP4 export. The final step in the pipeline. Steps 6 & 7 →