Retouching QA Tool
The Final Check Before Client Delivery
You've retouched it 40 times. Are you sure you got everything?
Photoshop layer toggling is not a QA method: by the time your eye gets back to the canvas, you've already forgotten what you were checking. Blink testing shows your raw and retouched at the same fixed location in rapid alternation. Missed spots, clone stamp artifacts, and frequency separation issues pop immediately. 30 seconds. Every deliverable.
SEE IT WORK
The last look before you deliver
The missed spot, the clone-stamp artifact, the boundary spill: none of them survive alternation. What you fixed holds still; what you missed moves.
Toggling layer visibility is not the same as comparing images.
Every retoucher uses this as their QA method. None of them talk about the cognitive problem it creates.
What happens when you toggle a Photoshop layer
Your eye tracks to the Layers panel. Your hand moves to click. Your eye travels back to the canvas. The image is already different, but you're now rebuilding your visual impression of it from scratch. You are comparing what you see now to what you remember from 600 milliseconds ago. That is not a comparison. That is a memory test.
What happens during blink testing
Your raw and retouched image alternate at the same pixel coordinates, at precise intervals, while your eyes stay still. You're not comparing a perception to a memory: you're comparing two perceptions directly. Every change, intended or accidental, appears as visible motion. Your visual system detects it without conscious effort.
Every comparison mode, applied to retouching.
Most retouchers only toggle layers. You have three comparison methods: each reveals different categories of error.
Blink test
Rapid alternation between raw and retouched. Every change appears as motion. Catches missed spots, residuals, and accidental edits instantly.
Pixel diff heatmap
Mathematical comparison showing exactly which pixels changed and by how much. Verifies edits are contained to intended regions. Boundary spill shows up immediately.
Split wipe
Drag a divider across the image. Inspect specific regions at full resolution. See raw and retouched side-by-side at any point.
NDA-safe
All processing runs locally on your machine. Safe for client images under NDA: your files stay on your device.
30 seconds. Every deliverable. No more sending work with missed spots.
Add this as the last step before export. It catches what an hour of pixel-peeping in Photoshop won't.
Export your final
Finish retouching. Export your final TIFF or JPG from Photoshop or Capture One. Don't close your editor yet.
Drop raw + final
Drag your original raw export (or unretouched JPEG) as anchor. Drag your final export as a state.
Blink at 300ms
Every change, intended or accidental, appears as visible motion. Your eye snaps to anything that's different.
Verify with diff
Switch to pixel diff to confirm edits are contained to the intended regions. Boundary spill shows up immediately.
Pixel-to-pixel QA for print work
Print retouching has a harder deadline than web: once the proof is approved, the file ships. Pixel-to-pixel comparison catches what changed between proof rounds: a healed blemish that took real texture with it, type that reflowed when a layer moved, a color grade that crept between revision three and revision four. Load the previous round as the anchor, the new round as a state, and blink: every difference between rounds appears as motion, and the diff heatmap documents it for the approval record.
One honest note for prepress: the browser compares RGB rasters. Export matched RGB proofs of your CMYK files (same dimensions, same profile) and the comparison is exact for geometry, retouching, and reflow: precisely the errors that survive zoomed-in checking. Press-ready client work never leaves your machine.
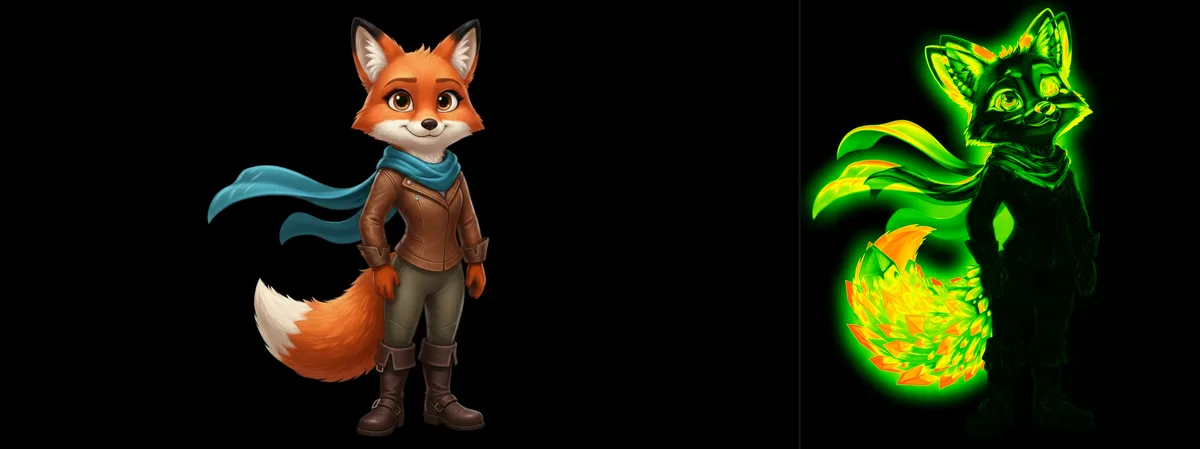
Original (left) vs. pixel diff heatmap (right): every change glows. Missed spots stay dark.
The errors that survive hours of zoomed-in editing
Missed spots and residuals
A blemish you overlooked at 200%. A stray hair you thought you removed. A background distraction that survived. Blink comparison makes these obvious because your eye is drawn to the thing that doesn't change when everything around it does: a residual element that should have been removed jumps out as a stationary artifact in a blinking field.
Clone stamp and healing brush artifacts
Repeated patterns from clone stamp work, smudged edges from the healing brush, texture inconsistencies from patch tool overreach: these are nearly invisible at 100% zoom. They pop immediately when you blink between raw and retouched, because the repetition or discontinuity appears as an anomalous motion pattern.
Frequency separation issues
Texture layer inconsistencies from frequency separation work: areas where the texture feels disconnected from the color underneath, or where blending on the color layer crept beyond the intended mask. The pixel diff heatmap shows color shifts across the entire image, revealing where your frequency separation work touched areas you didn't intend.
Dodge and burn color shift
Did your dodge-and-burn work shift the overall color balance? Did a heavy burn create an unnatural shadow density? The blink test reveals overall tonal changes because the entire image appears to shift when you blink, not just the specific areas you were working on.
Boundary spill from masking
When you mask and adjust a region, did the adjustment spill beyond the mask edge? This is especially common with luminosity masks and frequency separation masks that seem precise at 100% zoom but have soft edges that spread further than intended. Pixel diff mode shows exactly where change occurred, and where it shouldn't have.
Liquify and warp displacement
Liquify, warp, and perspective corrections can subtly displace adjacent areas. The blink test makes geometric displacement immediately obvious, especially important for fashion and beauty retouching where proportions, symmetry, and anatomy are under scrutiny.
Multi-pass review for complex retouching jobs
For beauty work, compositing, and extensive color grading: you're not just comparing "before" and "after." You're comparing multiple passes: the raw, the skin work, the color grade, the final export. Compix supports up to 50 states, so you can load each pass as a separate state and blink through the entire progression of your work.
This is especially useful when reviewing work from an outsourced retoucher or a junior in your studio. Load the original, their first-pass delivery, your revision notes, and their corrected second pass. Blink between any two to verify that each round of feedback was actually implemented: not approximately addressed, but actually done.
Building this into your Lightroom and Capture One delivery workflow
If you work in Lightroom or Capture One, the workflow is: make your edits, export a proof JPEG at full resolution, then drag both the original exported preview and the retouched version into Compix. Thirty seconds of blink testing. If you spot something, go back to your editor, fix it, re-export, and run the check again. The whole QA loop takes under two minutes per image, less time than it took to pixel-peep the last section of skin at 300%.
Comparing two different edit directions
Beyond raw-versus-retouched QA, the multi-state support lets you compare two different editing directions for the same image, useful when a client asks for both a "natural" and a "polished" version, or when you're deciding between two color grades. Load both exports, blink between them, and show the comparison directly to your client. The blink test often makes the better version obvious to clients who can't articulate why one edit feels stronger than another. See also: before/after comparison for client presentations →
Questions from retouchers
Why not just toggle layers in Photoshop? ▸
Is this safe for client images? I work under NDA. ▸
Can I compare RAW files directly? ▸
What if my before and after are slightly different crops? ▸
Can I use it to compare two different edit directions for a client? ▸
More from Compix
Pixel Diff Tool
Verify edits are contained to intended regions with a pixel-level heatmap. Open →
AI Image Comparison
Compare Stable Diffusion outputs, Midjourney variations, and Flux generations. Open →
Scene Compositor
Build client presentations, moodboards, and comparison layouts with layered compositions. Open →